Victorian Lady Journal Page + Altered Book Half Page Pocket Tutorial
Join me in this fun and pretty junk journal page project. You can find some of the papers to use in the Library.
In our continuing series on creative and altered book journal, I've done two pages here. They are not adjacent because it just worked out that way.
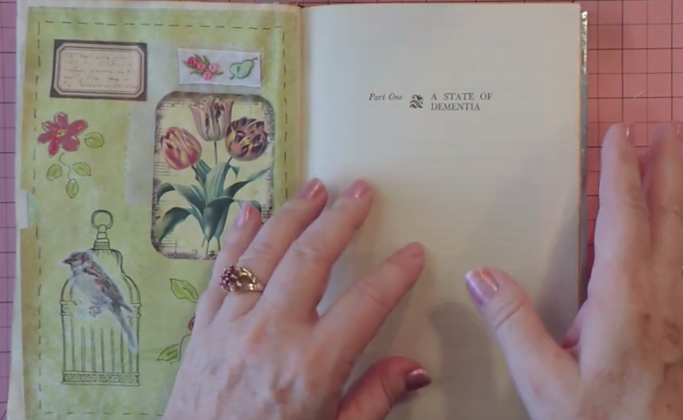
The book had a chapter head page with lots of blank space and only the title so I wanted to leave space on this page for journalling.
The book had a chapter head page with lots of blank space and only the title so I wanted to leave space on this page for journalling.
Obviously, I wanted to cover up the title of Part One, as this journal is clearly not about a state of dementia, (though sometimes I wonder about my own sanity, but that's another story, ha ha.)
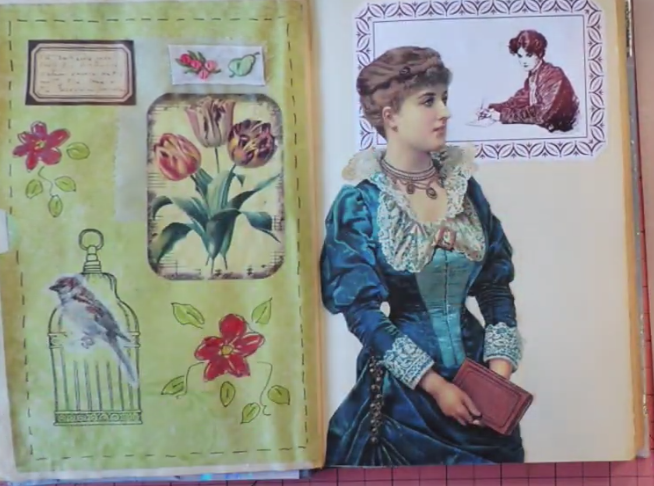
I chose the large image of the Victorian lady in her beautiful blue dress as the main image and the smaller one of the lady writing to cover the page text. This leaves plenty of space for writing notes or journalling.
I chose the large image of the Victorian lady in her beautiful blue dress as the main image and the smaller one of the lady writing to cover the page text. This leaves plenty of space for writing notes or journalling.
I liked how the lady in blue is holding a book, and the other lady is writing a letter or perhaps in her journal.
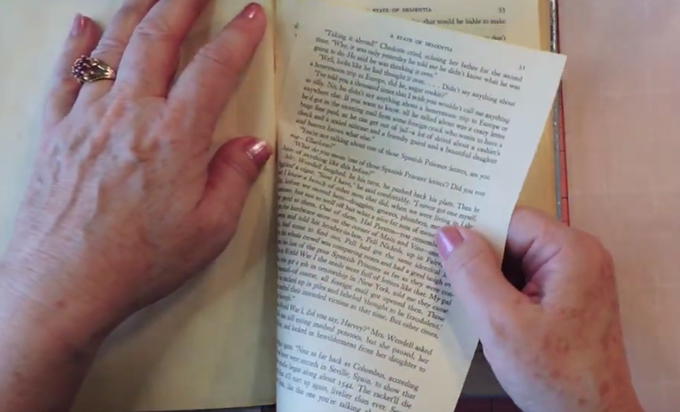
On the next page in the book, you'll see a blank on the left and print on the right. I had torn out a few pages, which is necessary in an altered book project so it doesn't get too full. As we're adding papers and ephemera, the thickness of the book is going to grow.
On the next page in the book, you'll see a blank on the left and print on the right. I had torn out a few pages, which is necessary in an altered book project so it doesn't get too full. As we're adding papers and ephemera, the thickness of the book is going to grow.
Here I'm tearing this page down to only just over half way. I removed the loose part of the page by tearing with a ruler, horizontally, leaving a half page to make the pocket.
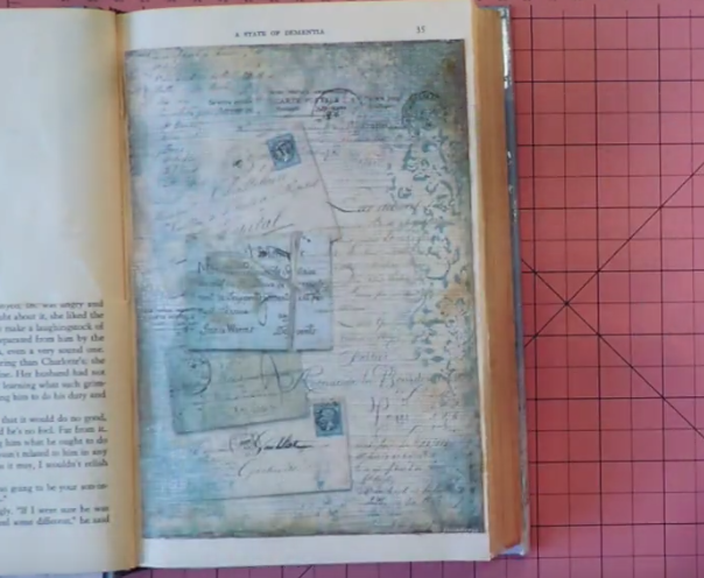
I covered the printed page with a beautiful paper that I found at Purple Poppy Facebook group.
I covered the printed page with a beautiful paper that I found at Purple Poppy Facebook group.
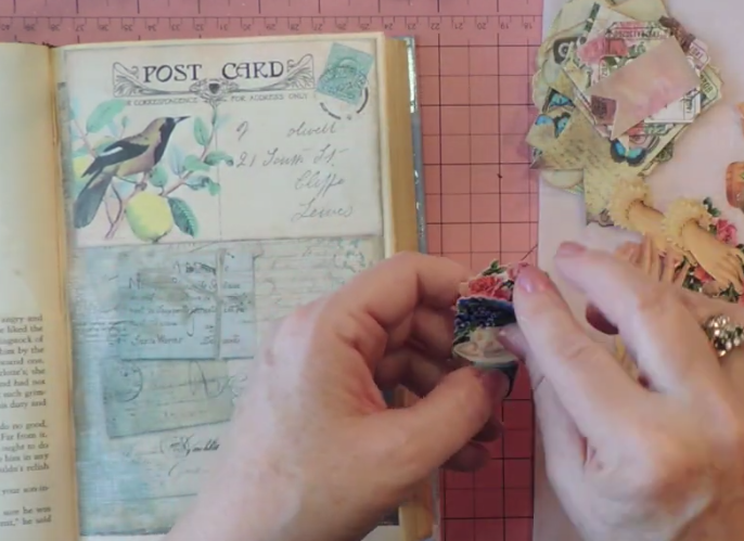
Next, I wanted to cover up the title and page number at the top of the page, which I could have done with the paper I glued down had I placed it a bit higher, but I didn't think of that at the time. Instead, I found another bit of ephemera, a vintage postcard image, which I love anyway.
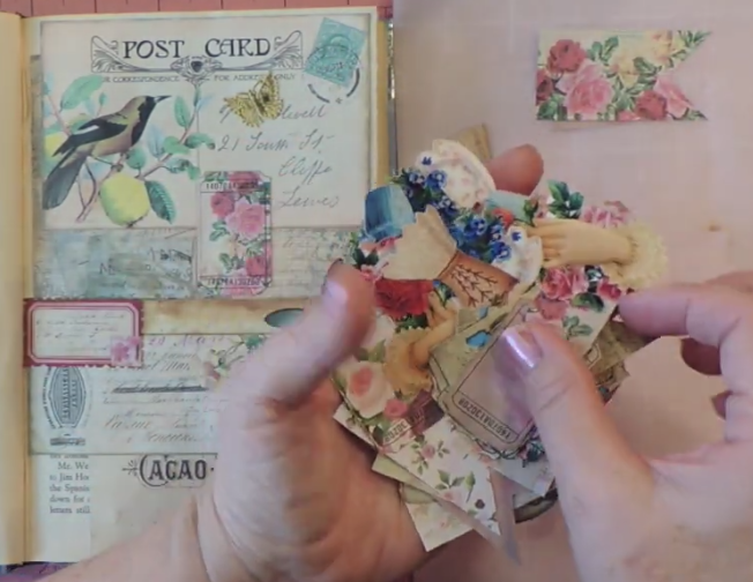
Honestly, I went a bit crazy with the ephemera as I had recently cut out a bunch of new pieces and I think I was swept away in the thrill of playing with them.
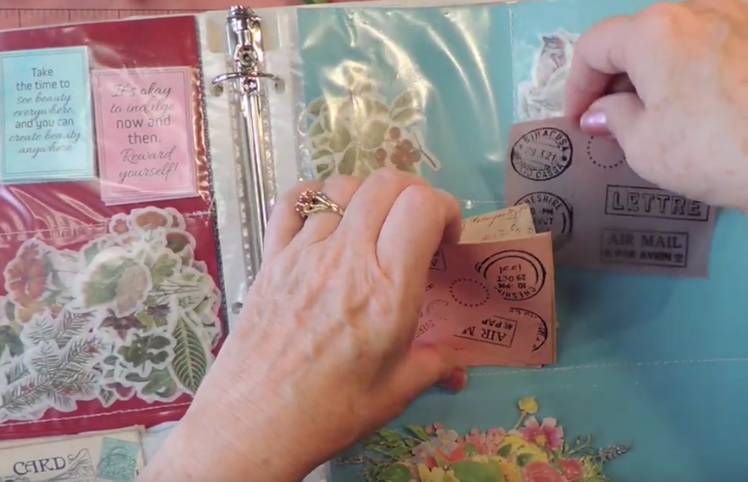
I created this handy storage binder for keeping lots of little pieces, but I'm still working on organizing everything.
I created this handy storage binder for keeping lots of little pieces, but I'm still working on organizing everything.
Choosing the decoration from your ephemera bits is a lot of fun. If you have a Cricut cutting machine, they are a snap to cut out. However, you can certainly cut them by hand, called "fussy cutting". I do that while watching TV in the evenings sometimes.
One of the cards that I used to pop into the pocket is detailed in this video, Junk Journal Pockets and Cards.
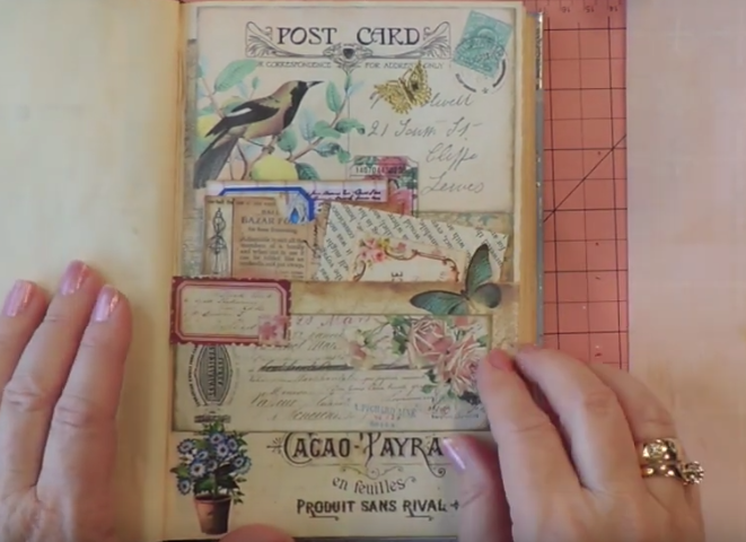
Here is the completed page, with the pocket and the little envelopes and journalling cards inside.
You can see the entire process and the cards that I tucked into the pocket by watching the video. Be sure to subscribe to my YouTube channel, too, where I post new arty and crafty ideas every week.
And if you haven't already, sign up below to access lots of free papers, art, and ephemera.
You can see the entire process and the cards that I tucked into the pocket by watching the video. Be sure to subscribe to my YouTube channel, too, where I post new arty and crafty ideas every week.
And if you haven't already, sign up below to access lots of free papers, art, and ephemera.
|
|
